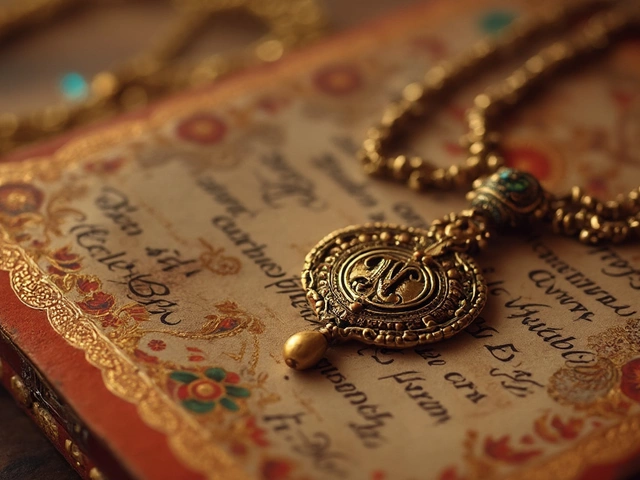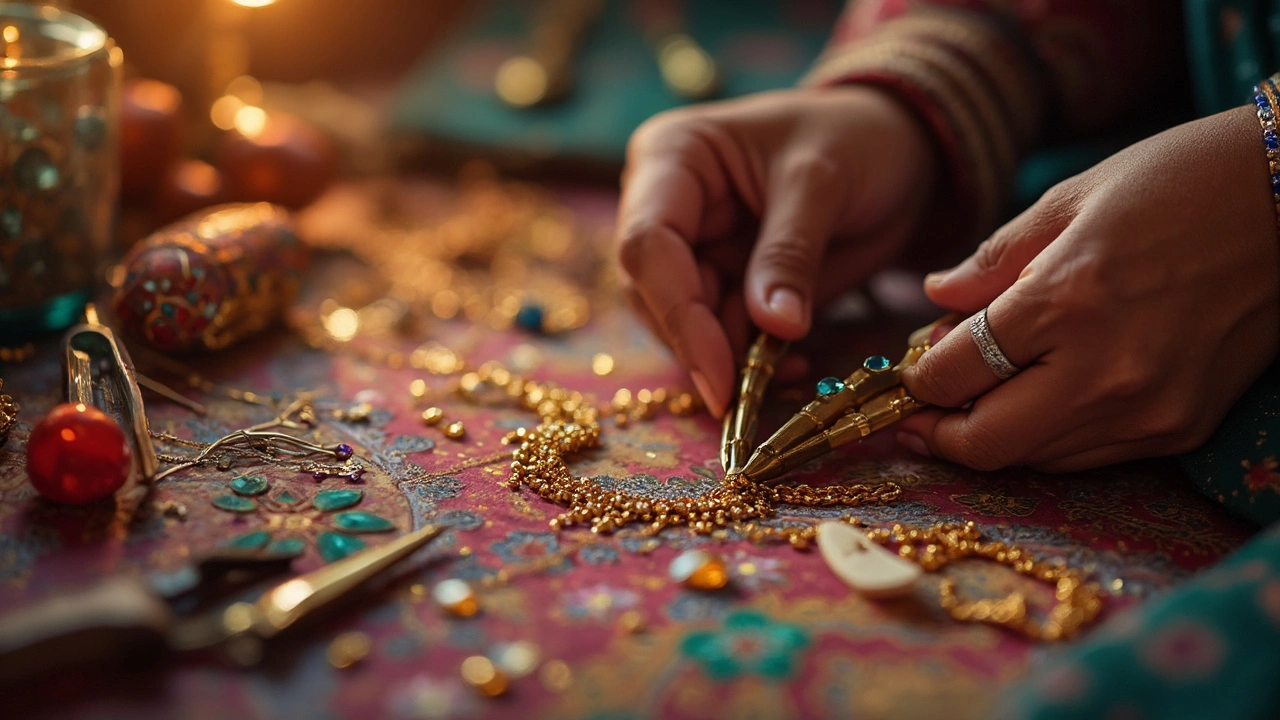
If you've ever dabbled in jewelry making, you know that those tiny jump rings can become quite the headache, right? Well, don't sweat it because with the right tools, you'll be popping them open and snapping them shut like a pro in no time.
First up, let's talk about pliers. They're kind of like the Swiss Army knife of jewelry making. But don't just grab any pair. Chain nose pliers and flat nose pliers are your go-to for jump rings. They've got the grip and the shape to hold that ring steady without leaving marks.
But wait, there's more! Ever heard of specialty tools like jump ring openers? They may look a bit intimidating, but they're super handy. These nifty gadgets let you focus more on creativity and less on fiddling around with those tiny rings.
Choosing the Right Pliers
Alright, so let's break down the basics of picking the right pliers for your jewellery making adventures. Whether you're a newbie or a seasoned designer, having the perfect pliers can really change the game.
First on the list are the chain nose pliers. These guys are the go-to for most jewelry makers. The tapered tips make it easy to reach into tight spots and adjust those little jump rings without a fuss. They give you control without leaving awkward marks on your materials.
Next up are flat nose pliers. These are the muscle when it comes to holding jump rings steady while you work on them. Because of their wider grip, they’re super useful for flattening or straightening wires, and they come in handy when you need to close those rings tight.
If you're worried about scratching or denting delicate pieces, take a look at pliers with nylon jaws. They protect your metals, especially if working with softer materials like silver or gold.
For those who love multitaskers in their toolkit, consider purchase options like bent nose pliers. The angled design helps you reach difficult angles without twisting your wrist into weird positions. Consider padded handles if you’re planning on lengthy crafting sessions. They can really save your hands from cramps!
Finally, here's a quick comparison table if you are thinking about investing in a couple of different types:
| Pliers Type | Best For |
|---|---|
| Chain Nose Pliers | Precision work, reaching tight spots |
| Flat Nose Pliers | Holding and straightening wires |
| Bent Nose Pliers | Accessing difficult angles |
| Nylon Jaw Pliers | Protecting softer metals |
Remember, the choice of pliers can not only make your project easier but also more enjoyable. So pick the right ones and get those jump rings moving!
Using Specialty Tools
Alright, if you're ready to level up from basic pliers, then specialty tools are your new best friends. These tools make jewellery making not just easier, but more fun. First up is the jump ring opener. It might look odd at first—a ring with slots—but it’s designed to fit on your finger, making it a fantastic third hand for tackling those stubborn jump rings.
Here's how to use it: slip the jump ring opener onto your finger, pick a slot that closely matches the thickness of your metal, and then hold the jump ring in one hand. Use the open slots to twist the ring open and shut without bending it out of shape. This nifty tool prevents mishaps, ensuring your jewelry projects stay sleek and professional.
Another cool gadget is the split ring plier. These are not your everyday pliers. Designed specifically for split rings, they have a tiny tooth that slides between the coils of the ring, making it much easier to work with—perfect when you're using a LOT of rings in your designs.
For those who love multitasking, consider a combination tool. These aren't just for opening and closing; they can crimp and cut too. They're like the multi-tool of DIY jewelry projects, especially handy when you're on the go.
Finally, let's talk about investing in quality. Jump ring opening and closing stresses metal, so the better your tools, the less you'll worry about wear and tear. Imagine making hundreds of pieces without breaking a sweat. Yep, that's the dream—and it's totally doable with the right tools.

Tips for Beginners
If you're just starting your journey in jewellery making, dealing with jump rings might feel a bit like trying to thread a needle with your eyes closed. But don’t worry, everyone starts somewhere! Here are some tips to make the process less daunting.
First things first, get yourself some basic yet essential tools. You don't need to break the bank. Start with a set of chain nose and flat nose pliers; these will be your besties in handling those tiny jump rings.
Now, here's a golden tip: never pull the ends of a jump ring apart. Instead, twist them sideways using the pliers. This keeps the circular shape intact and makes your jewelry more durable.
When you’re trying to keep rings open, having an organized work space is crucial. Use small containers or a divided organizer to sort different sizes of jump rings and other findings. It’ll save you time and a whole lot of frustration.
Another useful technique is using a jump ring opener. It’s basically a small metal ring with slots. Slip it on your finger, and you can open and close rings effortlessly. It sounds simple, but this little tool is a total game changer.
Experience comes with practice, so don't shy away from mistakes. Try starting with a simple project, like a basic chain bracelet. This way, you'll get loads of practice with your DIY skills without being overwhelmed by a complex design.
Expert Techniques
So you've mastered the basics and are ready to level up your jewelry-making game, especially when working with those tricky jump rings. Experts swear by a few techniques that can make all the difference, so let's dive in.
Ever tried the wax method? You might not have heard about it, but experienced jewelry makers use a tiny dab of beeswax to keep rings in place while working. It gives that extra grip, making it easier to open and close the rings without them slipping away from your pliers.
Another technique is using multiple pliers simultaneously. This might sound like something only an octopus could handle, but hear me out. By using two pairs of chain nose or flat nose pliers, you get a stronger hold and greater precision. You hold the ring firmly with one and twist open or closed with the other. This method keeps the ring perfectly round and maintains the strength of the metal.
- Double-flattening: Want to eliminate any gaps after closing a ring? Flatten the ring from different angles using your pliers to ensure it's completely flush.
- Annealing: This involves heating the metal slightly to make it more malleable. Once cooled, you can open and close rings more easily without risking a break.
If you’re really getting serious, consider investing in a set of ring mandrels. A mandrel helps maintain the shape and size of your rings, especially if you're making a long chain.
Here's a quick comparison of the efficiency of beginner versus expert techniques:
| Method | Time Taken (per ring) | Result |
|---|---|---|
| Basic Pliers | 20 seconds | Often with gaps |
| Advanced Techniques | 10 seconds | Perfectly flush |
See the difference? It's all about the approach. Using these expert techniques will have you crafting flawless pieces in no time.