If you've ever found yourself being drawn to sparkling trinkets and thought, 'Hey, I could make that!' you're now about to discover what it really takes to start creating jewelry from scratch. Before diving headfirst into your new hobby, there are a few basics you'll need. Understandably, the world of jewelry making might seem a bit overwhelming at first, but trust me, with the right tools, you'll be crafting your first piece in no time.
First off, every budding jeweler needs the right set of tools. It starts with the essentials: pliers. You'll typically want a set that includes round-nose pliers for forming loops, chain-nose pliers for gripping and bending wires, and flat-nose pliers for holding pieces stead. And don't forget about those wire cutters, which will be your go-to for snipping away excess material.
- Basic Tools for Every Beginner
- Advanced Gadgets Worth Investing In
- Materials You'll Need
- Tips for Setting Up Your Workspace
Basic Tools for Every Beginner
Jumping into jewelry making means arming yourself with a toolbox of essential gear. Let’s break it down, so you know exactly what you need to start crafting those beautiful accessories you've imagined.
First on our list are the pliers. They're the backbone of any jewelry toolkit, crucial for tasks like bending, shaping, and holding metal. A basic set often includes:
- Round-nose pliers: Perfect for creating loops and curves in wire. These are your go-to for anything round.
- Chain-nose pliers: These have tapered tips similar to round-nose but with flat inner edges, making them great for gripping and bending wire without leaving marks.
- Flat-nose pliers: Useful for holding metal steady and opening jump rings.
- Wire cutters: Essential for snipping through wire. Make sure they’re sharp to get a clean cut.
Next up, a ruler or gauge can’t be forgotten. Precision is key, especially when measurements can make-or-break a design. Look for something with both metric and imperial units for maximum flexibility.
Another must-have is a jewelry file, indispensable for smoothing rough edges and making sure everything feels professional. You can find single, double, or even sets of files that come in handy for different textures.
Don't overlook the value of a beadboard or design board. This simple tool allows you to layout your beads and plan your designs before the actual assembling.
Lastly, safety goggles might not sound glamorous, but they are vital. When cutting or filing, tiny metal shards can fly around – a little eye protection goes a long way.
Getting geared up with these basic tools means you're well on your way to creating jewelry that's uniquely yours. Ready to take on the craft? Remember, practice makes perfect, and soon you'll be crafting pieces to wear and share.
Advanced Gadgets Worth Investing In
Once you've mastered the basics and find yourself craving more precision, it's time to think about splurging on some jewelry making gadgets that bring your craft to the next level. These aren't just toys; they're tools that serious artisans swear by to achieve professional-level results.
An important piece of equipment you might want to consider is a rotary tool, like the popular Dremel. This nifty gadget is super versatile, helping with everything from polishing metals to carving intricate designs. With various attachments, it can slice, grind, or announce to the world that your creations mean business.
Another invaluable tool is a rock tumbler, especially if you love working with natural stones. Tumblers smooth and polish stones, making them jewelry-ready. They operate by rotating stones in a barrel with grit, and the transformation from a raw rock to a shiny gem is like magic!
For those who envision themselves soldering delicate pieces together, a jeweler's torch is indispensable. Small, handheld torches provide pinpoint heat and are perfect for those delicate bonds that can't be achieved with glue or wire alone.
Lastly, investing in a high-quality magnifier or jeweler's loupe is a must. This gadget allows you to inspect small details, ensuring every curve, clasp, and connection meets your impeccable standards.
Here's a quick overview of the typical costs and uses of these advanced gadgets:
| Gadget | Approx. Cost | Main Use |
|---|---|---|
| Rotary Tool | $50 - $150 | Polishing, Carving |
| Rock Tumbler | $70 - $200 | Smoothing, Polishing |
| Jeweler's Torch | $40 - $100 | Metal Soldering |
| Magnifier/Loupe | $10 - $40 | Detail Inspection |
Advanced tools can be a bit of an investment, but if you're passionate about crafting truly stunning pieces, they could make all the difference.
Materials You'll Need
Before you start creating stunning jewelry, it's essential to know the materials that will bring your creations to life. While tools are vital, the materials are where the magic happens. Let's break down what you'll need in this vibrant world of jewelry making.
First up, you'll want to gather a variety of beads. They're the stars of many jewelry designs and come in all shapes, sizes, and colors. Glass, wood, metal, and even gemstone beads are popular choices. Depending on your style, you might want to start by experimenting with different types to see which ones resonate with you.
Wire is another cornerstone in any jeweler's toolkit. You'll find a variety of gauges (or thicknesses), with 20-gauge being a versatile option for most projects. Some folks prefer copper for its flexibility and the way it ages beautifully, while others might go for silver or gold-filled for a more elegant touch.
To string it all together, you'll need some stringing materials like nylon thread, silk cord, or flexible bead stringing wire. Each has its strengths: silk is traditional for knotting pearls, while nylon is a tough all-rounder.
"Choosing the right materials is akin to an artist selecting the right colors; it defines the soul of your creation." – Jewelry Designer Carla Johnson
Then, there's the world of findings. These are the little bits and pieces that hold your jewelry together. We're talking about clasps, jump rings, headpins, and earring hooks. Keep an assorted stash of these tiny essentials handy—trust me, you'll need more than you think.
Here's a handy table to sum up some popular materials and their common uses:
| Material | Common Uses | Notes |
|---|---|---|
| Glass Beads | Necklaces, Bracelets | Affordable and versatile |
| 20-gauge Wire | Making loops, connections | Flexible yet strong |
| Nylon Thread | Stringing beads | Durable for heavy pieces |
| Clasps | Fastening necklaces, bracelets | Variety available to suit styles |
Lastly, think about any special additions like charms and pendants, which add a personal twist to your creations. Whether you're inspired by nature, nautical themes, or abstract art, there's something out there to match your vision.
With the right materials in hand, your jewelry making journey will be off to a fantastic start. Happy crafting!
Tips for Setting Up Your Workspace
Creating a dedicated workspace for your jewelry making adventures isn't just about aesthetics—it's about practicality. Let's face it, a cluttered area can easily kill your vibe and productivity. So, what's the best way to get started?
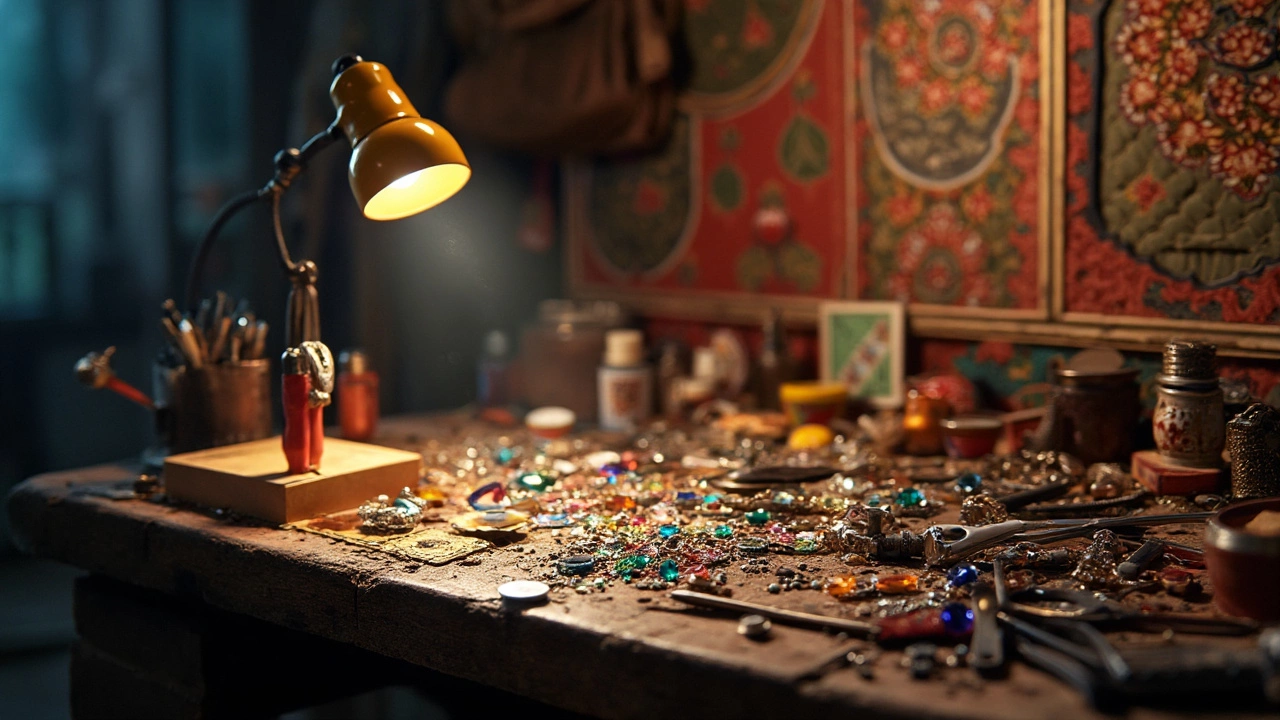
First, choose a spot with good lighting. Natural light is your friend, but if that’s not an option, consider investing in a decent desk lamp with adjustable brightness. This helps avoid eye strain and ensures you can see those tiny details clearly.
Now, comfort is key. You'll spend a fair amount of time sitting, so a good chair can make all the difference. Look for something comfy but supportive so you won't end up with a sore back after a long day of crafting.
When it comes to organization, think in layers. You’ll want easy access to your most-used tools, so consider using a pegboard or wall-mounted shelves to hang your pliers, cutters, and other essentials. Smaller materials like beads and findings can be stored in clear containers or tackle boxes, neatly labeled, so you can find what you need in a pinch.
Dust and particles can be a real nuisance when you're working with fine materials. To protect your jewelry making supplies, have a dust cover handy or invest in airtight storage to keep everything pristine.
- Avoid clutter: Keep only the tools and materials you need at your workspace to maintain a tidy environment.
- Set up a sound system: Whether it's calming music or a podcast, it adds a touch of relaxation to your work sessions.
- Consider ergonomics: Arrange your desk to ensure you're not straining your hands, shoulders, or neck.
Finally, personalize your space! Add a vision board, a few photo frames, or even plants to boost your creativity. Remember, the goal is to create a space that inspires and energizes, helping you to dive into your projects with enthusiasm.