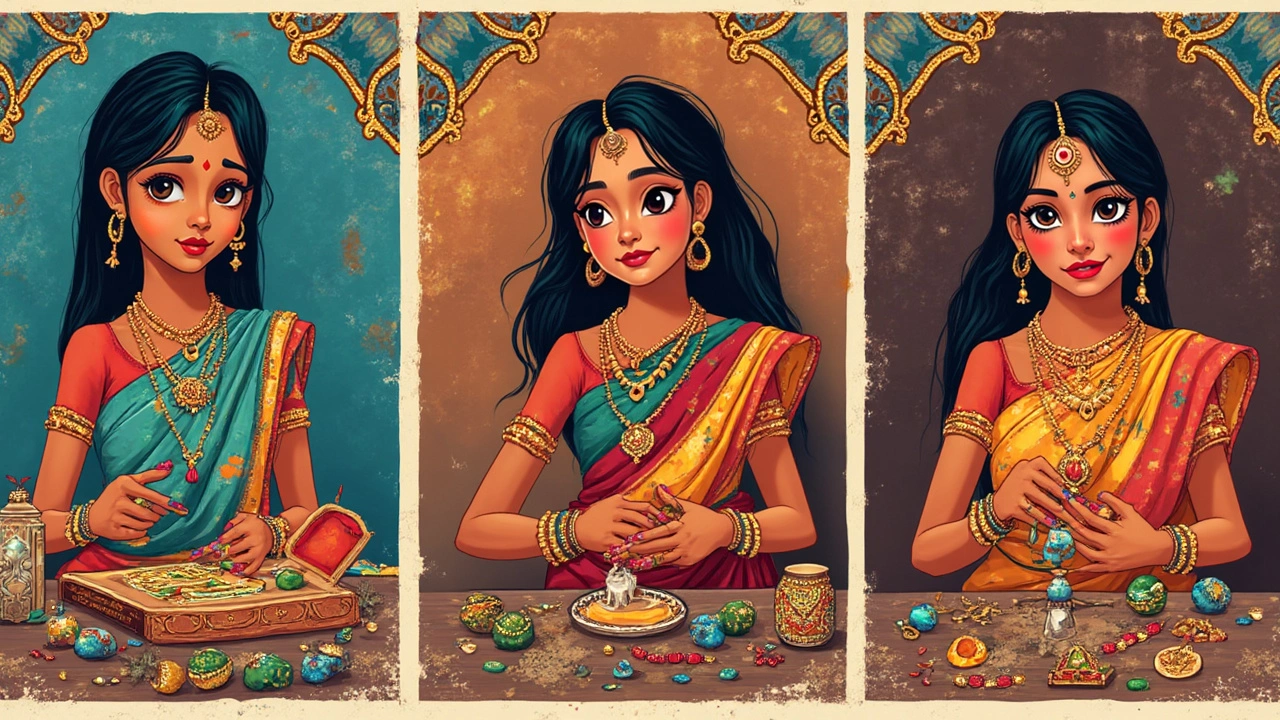
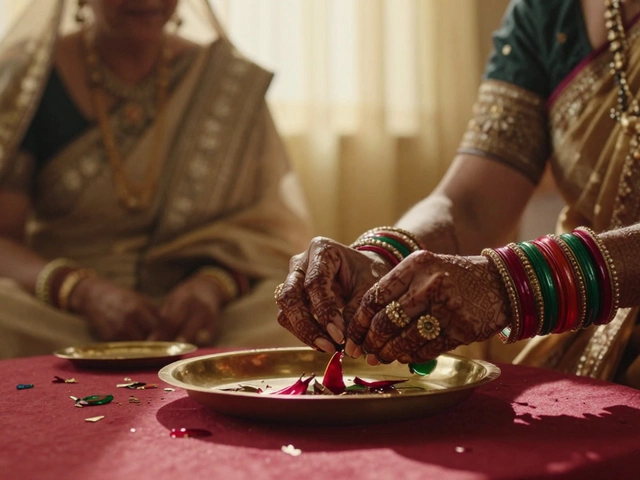
So, you're thinking about diving into jewellery making, huh? Great choice! This is one of those hobbies that not only lets your creativity run wild but also gives you something beautiful to wear or gift to someone special. First thing's first, you'll need a starter kit. Why a kit, you ask? Well, they take the guesswork out of what you need and offer a convenient way to get all the essentials in one go.
Now, picking the right kit can feel a bit overwhelming with so many options out there. Here's a pro tip: Look for a kit that matches your style and skill level. If you're a complete newbie, there are beginner-friendly kits with simple designs that can help you get the hang of things without too much frustration.
- Choosing the Right Kit
- Essential Tools and Materials
- Basic Techniques
- Common Mistakes and How to Avoid Them
- Inspiration and Project Ideas
Choosing the Right Kit
Alright, let's get down to picking the perfect jewellery making kit for you. This part can seem tricky with the variety out there, but if you know what to look for, it’s much easier.
Consider Your Skill Level
First, be honest with yourself. Are you just starting out, or do you have some experience with making stuff? For absolute beginners, a basic kit with simple tools such as pliers and wire is best. These kits usually contain easy-to-follow instructions, so you won't feel lost. However, if you’ve got some skills, you might enjoy a more advanced kit that includes specialized tools like a bead board or crimping pliers.
Think about the Type of Jewellery You Want to Make
Different kits focus on different types of jewellery. Some are specifically for creating earrings, while others might cater to necklaces or bracelets. Make sure the kit you choose aligns with what you’re excited to create. If your heart is set on dazzling necklaces, a bracelet-focused kit might not spark the same joy.
Materials and Quality
The materials included in the kit matter a lot. Look for kits that provide high-quality beads and wires. Cheap materials can lead to frustration as they might break or not be easy to work with. Kits that include semi-precious stones or glass beads often signal a higher quality.
- Starter Kits – Best for beginners, often includes basic tools and a variety of materials.
- Specialty Kits – Focus on specific projects such as earring making or wire wrapping.
- Professional Kits – Contain advanced tools and supplies, suited for those serious about the craft.
Price Range
You don’t need to break the bank. Beginner kits can be very affordable, usually ranging from $20 to $40. Intermediate to professional kits might cost more, but this is often due to the inclusion of higher-quality materials and tools.
| Kit Type | Price Range |
|---|---|
| Beginner Kit | $20 - $40 |
| Intermediate Kit | $40 - $75 |
| Professional Kit | $75 and up |
By focusing on these factors, you'll find a kit that matches your needs, keeps you inspired, and helps you hone your new craft. Start with something manageable, and you’ll soon be crafting stunning pieces in no time!
Essential Tools and Materials
Let's talk about the must-have tools and materials for your jewellery making kits. Before you start crafting your dream necklace or bracelet, it’s crucial to gather the right stuff. Think of these tools as your best buddies—they'll make everything easier and more fun!
Tools You'll Need
- Pliers Set: You'll need at least a set of round-nose pliers, chain-nose pliers, and wire cutters. These are essential for bending and cutting wires. Some kits even include these, but double-check before you buy.
- Beading Needles: These thin, flexible needles are perfect for threading beads, especially when dealing with smaller types. They come in handy for intricate designs.
- Crimping Tool: When you want secure, professional-looking results, this tool is key. It helps you clamp the crimps tightly so your jewelry piece stays intact.
Materials to Consider
Now, onto the actual stuff you’ll be working with. Different styles require different materials, so here’s a quick roundup of what you might find in your kit.
- Beads: These come in all shapes, sizes, and materials. You may find glass, stone, or metal beads depending on the kit's focus. Special packs often include themed beads for specific projects.
- Wire: Jewellery wire is essential for stringing and creating structures. You'll often see different gauges mentioned—this refers to the thickness. A lower gauge number means a thicker wire.
- Clasps and Findings: These are the nuts and bolts of jewelry making—literally. Clasps are what keep your pieces secure, while findings include hooks, jump rings, and other hardware bits you'll need to assemble your project.
Material's Quality Table
Understanding the quality of your materials is crucial. Here's a quick look:
| Material | Durability | Common Use |
|---|---|---|
| Glass Beads | Medium | Bracelets, Necklaces |
| Metal Findings | High | All Projects |
| Stone Beads | High | Earrings, Statement Pieces |
With the right tools and materials, you're all set to craft amazing pieces that reflect your style. Don’t skimp here; quality materials can make a huge difference in the outcome and durability of your creations.

Basic Techniques
Alright, let’s get into the nitty-gritty of jewellery making—basic techniques you’ll want to master. This is where the magic happens, turning simple materials into stunning accessories. Whether you're making necklaces, bracelets, or earrings, these techniques lay the foundation for everything else.
Stringing Beads
One of the first things you’ll do is stringing beads. This might sound easy-peasy, but it’s an art. The type of string you choose is crucial—go for nylon or silk for softer beads, while wire is better for heavy-duty pieces. Make sure to plan your design first; line up your beads before you start threading them onto the string to save time.
Using Jump Rings
Ever wonder how pieces connect seamlessly? It’s all about jump rings. These little metal loops are used to link different parts of your jewellery. Always remember to twist the jump ring sideways to open or close it—never pull it apart. This keeps its shape intact.
Basic Knotting
Knotting isn’t just for shoes. In jewellery making, knots are used to secure clasps or create length adjustments. The classic overhand knot is your go-to move, but there are more advanced knots to explore as you get the hang of it.
Wire Wrapping
This technique isn't just functional; it can be a centerpiece in your design. Start with soft wire, practice wrapping it around beads to create pendants, or use it to attach components. This is where your creativity can shine.
As you explore these basic techniques, practice is the name of the game. The more you handle materials and tools, the more your skills will grow, eventually allowing you to tackle more complex designs. Pretty soon, you'll find yourself making tweaks and coming up with ideas that are all your own. So, grab your jewellery making kits and get started creating!
Common Mistakes and How to Avoid Them
If you're just starting with jewellery making kits, you're bound to make a few mistakes. No worries—everyone's been there! Here are some common slip-ups and how to steer clear of them.
Overlooking Instructions
One of the biggest mistakes is not reading the instructions thoroughly. Even if you think it looks straightforward, it's crucial to follow any guidelines included in your kit. Skipping this step can lead to wasted materials and less-than-perfect results.
Poor Tools Maintenance
Another pitfall is neglecting your tools. Keep them clean and well-maintained because gummy pliers or dull cutters can ruin your work. A quick wipe with a cloth and occasional sharpening can go a long way.
Wrong Materials
Choosing the wrong type of materials for your skill level or project can be a letdown. Some kits might have delicate beads which need a steady hand, so match your kit to your current skills.
Neglecting Comfort
It’s crucial to be comfortable while working. Neck pain from leaning over or eye strain from poor lighting is no fun. Set up your workspace so you’re relaxed and have good lighting to avoid eye strain.
Not Having Enough Patience
This is a big one. It's easy to get frustrated when things aren't going as planned. Take a deep breath and remember, practice makes perfect. Your patience will create beautiful results over time.
Remember, mistakes are just stepping stones in learning DIY jewelry crafting. Each error teaches you something new, making your next project even more amazing.

Inspiration and Project Ideas
Looking for some inspiration to get started with your jewellery making kits? You’ve come to the right place. Let’s dive into some creative project ideas that will not only boost your skills but also give you some beautiful pieces to show off.
Simple Beaded Bracelets
One of the easiest ways to start is by creating beaded bracelets. These kits often come with everything you need: beads, elastic thread, and clasps. Start by deciding on a pattern or color scheme. An easy and classic choice is alternating two colors of beads. Here’s a quick step-by-step:
- Measure your wrist and cut the elastic thread to the desired length.
- String the beads in your chosen pattern.
- Once finished, tie a secure knot to close the bracelet, and fasten with a clasp if needed.
Wire Wrap Pendants
If you’re feeling a bit adventurous, try a wire wrap pendant. These are perfect for showing off a unique stone or crystal. Here’s how:
- Select a stone you like.
- Take a length of wire and wrap it tightly around the stone to hold it in place.
- Create a loop at the top for attaching a chain, and twist the wire ends to secure everything.
This project will teach you about wire tension and control, both essential techniques in jewellery making.
Earring Sets
Another fun project is creating your own earring sets. With just a few hooks and some decorative pieces like charms or tassels, you can make trendy earrings in no time.
- Choose charms that suit your style.
- Attach them to earring hooks using jump rings.
- Ensure all components are securely fastened.
These make great gifts too!
For a dose of daily inspiration, browse social media platforms like Instagram or Pinterest. Follow accounts dedicated to DIY jewellery or join online communities where enthusiasts share their creations and tips.


