Squeeze your fingers trying to pry open a tiny jump ring and you'll wonder why anyone still tortures themselves the old-fashioned way. That’s the exact thing that makes jewelry making both fun and, sometimes, a pain—literally. Enter the jump ring opener—a tool that looks almost too simple to be genius. But ask any experienced jewelry maker and they’ll rave about the time it saves, the less sore thumbs, and far fewer misshapen rings. If you ever felt awkward or frustrated while finishing a chain or attaching a charm, you’re in the right spot. Let’s dig into what makes this basic ring of metal a must-have—and why every jewelry toolkit deserves one.
What Exactly Is a Jump Ring Opener and Why Use One?
At first glance, a jump ring opener just looks like a little round disc—nothing special. It’s typically made from sturdy metal like stainless steel, about the size of a coin. But here’s the kicker: it usually has three or four notched grooves around the edge. Each notch is sized for different wire gauges. You slip this ring on your finger like some kind of industrial statement jewelry piece (usually your index finger or thumb works best), and there it stays, waiting to help you out. When you grab a jump ring with pliers and fit it into one of the notches, a twist of the wrist and—snap!—the ring opens with barely any force. You don’t need a second pair of pliers, you don’t risk misshaping the ring, and your fingers don’t get stiff from holding everything in a death grip.
This tool is a game-changer, especially for anyone who works with jump rings in bulk—think chain mail, beaded necklaces, or that round-the-wrist bracelet with a jillion charms. Data from craft supply stores suggest jump rings are among the top five most commonly purchased jewelry findings, which means the opener is in pretty high demand too. Even professionals who’ve mastered fancier tricks with pliers keep one of these gadgets handy—it’s simply more efficient when you’re going through dozens or even hundreds of rings.
Why use a jump ring opener over just your trusty pliers? For starters, every time you open rings with two sets of pliers, you slightly flatten or mar the shape, even if you’re super careful. The opener, on the other hand, applies even, rotational pressure, keeping the ring round. That means your finished pieces look more precise and professional. Plus, nearly every tutorial and jewelry kit out there recommends this tool as a must-have for beginners and experts alike. Makes sense, right?
How Does a Jump Ring Opener Work in Real Life?
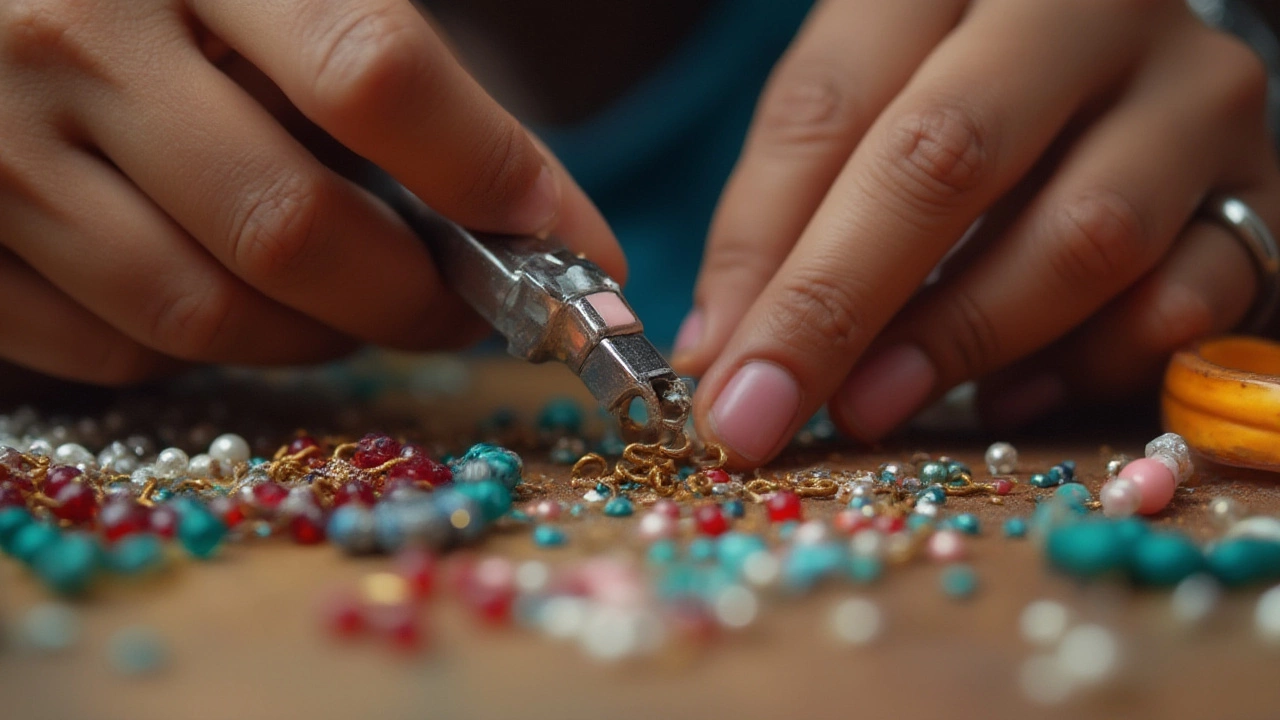
Using a jump ring opener honestly couldn’t be easier. First, you pick the right notch on the opener that matches the thickness (or gauge) of your jump ring. You slide the tool on your finger—most people find their non-dominant hand is best–but whatever’s comfortable works. Next, you hold the jump ring steady with your pliers (needle-nose are perfect) in your dominant hand, then insert the ring edge into a notch. Apply gentle sideways pressure, not pulling the ends apart, just twisting them away from each other.
Here's what’s cool: that sideways "twist" technique (instead of pulling the ring ends wide apart) preserves the shape and tension of the ring, which is critical for jewelry that won’t easily fall apart. That’s why the tool is so popular among chain mail enthusiasts who sometimes open hundreds of rings in a sitting, racing against the clock or cramps (sometimes both). Many jewelry kits for beginners now include this tool as standard, and social media videos of crafters opening dozens of rings in seconds have racked up millions of views. There’s a reason: you just open the ring, slip on your charm or connector, and twist it closed with the same technique. No extra tools, no fuss.
If you’re worried about the tool not fitting (say you have larger fingers), most openers are adjustable or made from slightly flexible metal. Some brands now make silicone-coated or larger ring openers. For those who struggle with grip due to arthritis or joint pain, this tool can be a real lifesaver. Jewelers who’ve switched to the jump ring opener have reported up to a 40% faster production rate on chain-based items, according to a 2023 user survey from a top online bead retailer.

Types, Sizes, and Choosing the Best Jump Ring Opener
Let’s talk about what’s out there. The classic jump ring opener is a circular ring in stainless steel, but you’ll find a couple of variations worth knowing. Silicone or rubber-coated openers might feel comfier on the hand, especially if you do tons of repetitive work. Some openers come in segmented, horseshoe shapes so you can adjust the opening for really big or very tiny rings—pretty handy if you like working with all sorts of jewelry projects.
Most jump ring openers are sized to fit standard jewelry gauge wires—typically 18, 20, 22, and 24 gauge, though some go up to 14 or down to 26 for micro chains and heavier-duty jobs. The most common ring diameter is between 15mm and 22mm, but you can find a size that comfortably fits your finger. Extra tip: always pick a snug fit, but not so tight it restricts finger movement, or you’ll end up hating it after five minutes. If you use both hands for detailed work, it’s smart to have two—one for the index finger of each hand. Or keep a backup for when one goes missing (which, let’s be honest, happens a lot in craft spaces).
Here’s a quick reference for common jump ring sizes and matching opener notches, just so you don’t fumble for the right fit:
| Wire Gauge | Typical Jump Ring Size (mm) | Opener Notch |
|---|---|---|
| 14 | 7-10 | Largest |
| 18 | 5-8 | Medium Large |
| 20 | 4-7 | Medium |
| 22 | 3-5 | Smallest |
Those are the main options you’ll see in craft stores or online. If you’re more into heavy or professional work, some companies have started offering titanium jump ring openers—super durable, and practically indestructible. These are usually pricier, but they’re built to last for years. If you’re eco-minded, look out for recycled steel options as well.
Pro-Tips and Creative Hacks for Using Your Jump Ring Opener
You might think, "It’s just a simple ring, what more can I do?" Turns out, quite a bit. Here’s where the fun begins. Did you know that you can use the same tool for opening split rings, key rings, and even some earring backs? The principle is the same. Slide, twist, and you’re done. Tired of losing your ring opener between projects? Thread it onto a chain or a leather cord and wear it while you work. It doubles as a quirky, conversation-starting necklace, too.
If you’re making beaded jewelry, opening dozens of jump rings at once is way easier with this tool—some crafters report doing batches ten times faster this way compared to the standard two-pliers technique. Plenty of professional jewelers rely on jump ring openers when assembling large, intricate pieces like chandelier earrings or bib necklaces. When they run chain mail workshops, a bowl of openers gets passed around along with pliers—it’s just that essential.
Another neat trick? Use the jump ring opener for closing rings precisely. After attaching your charm or link, use the groove to guide you as you twist the ends back into perfect alignment. No more lopsided or open rings that snag hair or clothing. For delicate metals (think silver or gold-filled wire), always use the smallest notch that fits to avoid stretching the ring and keep the finish sleek. And remember, keep your opener clean—jewelry tools pick up oil and residue over time, which can transfer to your work.
If you’re serious about production, get a couple of openers in different sizes and stash them around your workspace so you’re never hunting for one mid-project. Some jewelry makers have gone so far as creating custom notched openers from coins or washers—DIY-style—although a purpose-designed tool is safer and smoother on the finger.
And if you’re just starting out? Don’t let small tools intimidate you. The jump ring opener is all about working smarter, not harder, and it opens the door (pun fully intended) to a much smoother jewelry-making experience. Next time someone shows you their favorite handmade bracelet or intricate chain mail keychain, you’ll know exactly how they got those rings together so neatly—no mystery, just a clever little tool.