Jewelry Making Starter Kit Calculator
Calculate the essential tools and materials you need to start making jewelry based on your preferred technique.
You have the idea. You see that perfect pair of earrings in your head, or maybe you want to fix a broken clasp on your favorite necklace without paying a jeweler fifty dollars for five minutes of work. But then you look at your empty table and wonder: where do I even start?
Creating your own jewelry isn't magic, but it does require more than just glue and beads. The gap between 'I want to make this' and 'I can actually make this' is bridged by the right tools and materials. If you buy the wrong pliers, you’ll crush your findings. If you pick the wrong wire gauge, your ring will fall apart.
This guide cuts through the noise. We aren’t talking about industrial casting machines here. We are talking about what you genuinely need to start making wearable, durable, and beautiful pieces from scratch today.
The Non-Negotiable Tool Kit
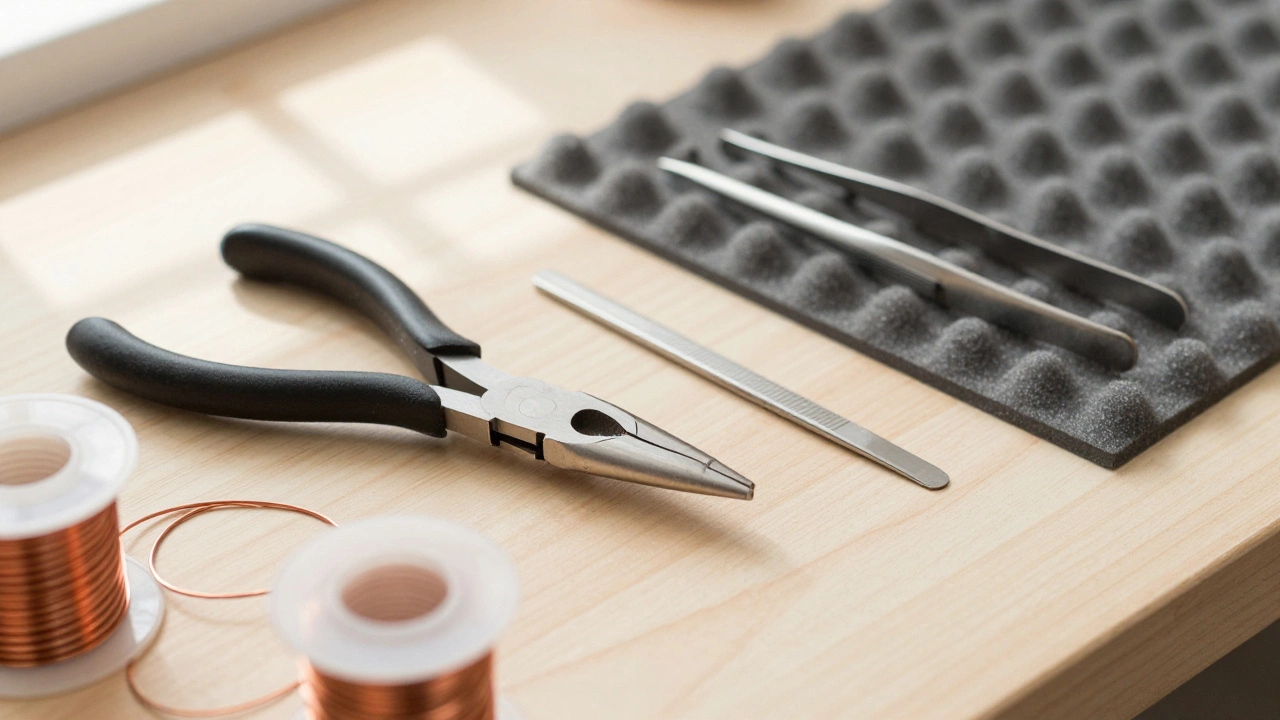
If you walk into any professional studio, you’ll see rows of expensive equipment. For a beginner, however, you only need four specific tools to handle 90% of projects. Skipping these leads to frustration; buying cheap versions leads to injury.
- Round Nose Pliers: These have conical, rounded jaws. They are essential for creating loops and curves in wire. Without them, you cannot make professional-looking earring hooks or secure clasps.
- Cutting Pliers (Wire Cutters): Do not use household scissors. Scissors ruin metal edges and can snap. Flush cutters give you a clean, square edge on wire, which is critical when soldering or crimping later on.
- Jewelry Tweezers: Your fingers are too big for tiny beads and jump rings. Fine-tip tweezers save your sanity and your eyesight.
Pro tip: Look for pliers with vinyl-coated handles. Metal-on-metal friction causes hand fatigue quickly. The coating provides grip and comfort during long sessions.
Choosing Your Materials: Wire vs. Beads vs. Clay
Before you buy tools, decide what medium speaks to you. Each requires different supplies and has a different learning curve.
Wire Wrapping
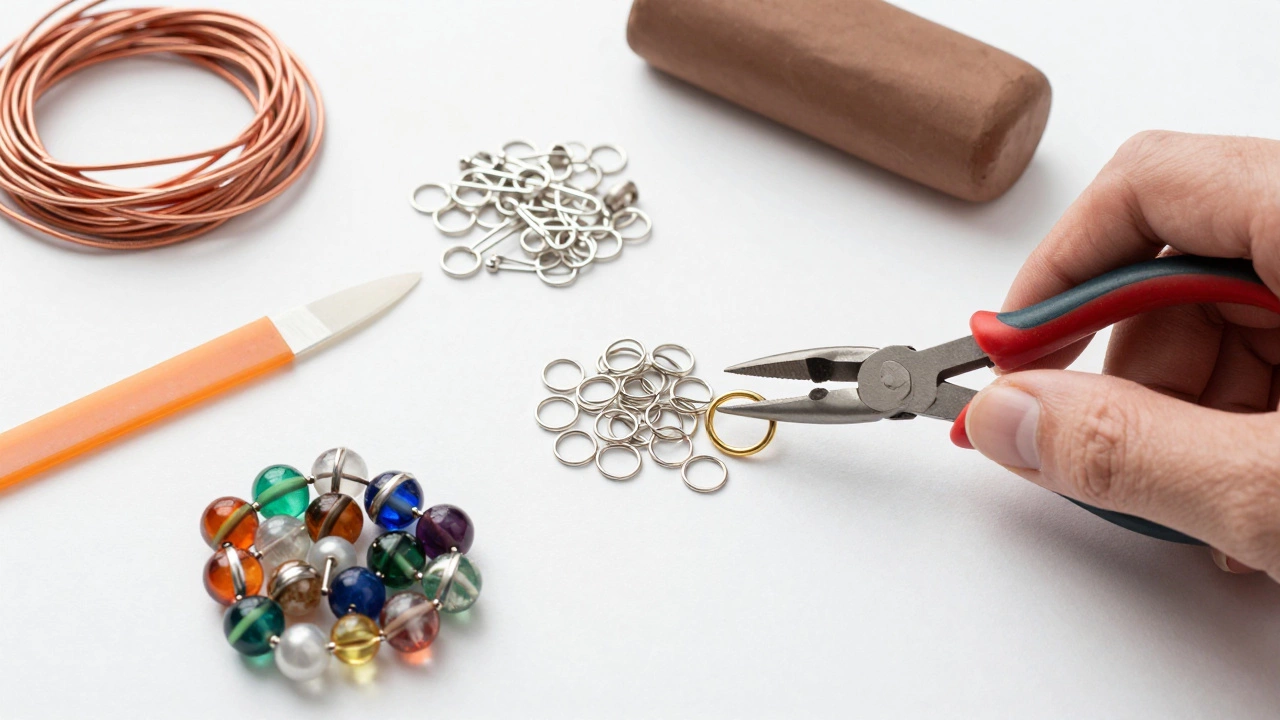
This is the most versatile starting point. You manipulate metal wire around stones or other components. Copper Wire is the best starter material because it is soft, affordable, and forgiving. It doesn't tarnish as aggressively as silver and is easy to reshape if you make a mistake. Start with 20-gauge wire for structural elements (like the frame of a pendant) and 24-26 gauge for wrapping details.
Bead Stringing
Stringing is faster but less structurally complex. You’ll need:
- Elastic Cord: For stretch bracelets. Look for 0.8mm or 1mm diameter.
- Head Pins & Eye Pins: Small metal pins used to turn loose beads into dangles or charms.
- Jump Rings: Small metal circles used to connect components. Ensure they are 'closed' properly using two pairs of pliers (one to hold, one to twist).
Polymer Clay
If you prefer sculpting over metalwork, polymer clay (brands like Fimo or Sculpey) is excellent. It bakes in a standard home oven. You’ll need a rolling pin, acrylic blades for cutting, and texture tools (like silicone molds) to create patterns.
Essential Findings: The Hidden Heroes
Findings are the pre-made metal parts that turn raw materials into functional jewelry. Ignoring quality here is the #1 reason DIY jewelry fails after a week of wear.
| Finding Type | Function | Best Material |
|---|---|---|
| Clasps | Secures necklaces and bracelets | Sterling Silver or Gold-Filled (avoid base metal if skin-sensitive) |
| Ear Wires | Attaches pendants to ears | Surgical Steel or Titanium for sensitive ears |
| Crimp Beads | Locks wire ends in place | Metal matching your wire (Silver/Copper) |
| Head Pins | Creates dangles from beads | Standard brass or copper coated |
Always check the gauge of your findings. A 20-gauge wire won’t fit into an eye pin designed for 24-gauge. Mismatched sizes lead to wobbly, unprofessional joints.
Workspace Setup: Safety and Organization
You don’t need a dedicated room, but you do need a safe zone. Metal shards and tiny beads are hazards if scattered.
- A Light Source: Natural light is best, but a bright LED desk lamp works. Poor lighting causes eye strain and mistakes.
- A Bead Mat: This is a foam pad with grooves. It prevents beads from rolling off your table. It’s cheap and saves hours of searching under furniture.
- Storage Containers: Small plastic boxes with dividers. Group items by type: wires, clasps, beads. Label them. Chaos kills creativity.
- Ventilation: If you plan to sand metals or use glues, ensure air flow. Some adhesives emit fumes.
Where to Buy: Kits vs. Individual Supplies
Many beginners ask, "Should I buy a kit?" The answer depends on your goal.
Jewelry Making Kits are great for absolute beginners who want to complete one specific project immediately. They usually include all necessary beads, wire, and basic instructions. However, they often contain low-quality tools meant for single-use. Treat kits as a trial run, not a long-term solution.
For serious hobbyists, buying individual high-quality tools lasts years. Invest in good pliers first. Then, buy materials in bulk. Buying 10 meters of copper wire is cheaper per meter than buying three short strands.
Common Mistakes to Avoid
Even with the right gear, pitfalls exist. Watch out for these:
- Ignoring Skin Sensitivity: Base metals like nickel cause rashes. If you’re making gifts, stick to sterling silver, gold-filled, or surgical steel.
- Over-Tightening Jump Rings: Don’t pull a jump ring open sideways. Twist it open side-to-side. Pulling distorts the circle, making it weak and visible.
- Skipping Finishing: Raw wire ends can be sharp. Always file or tuck ends neatly. A piece of jewelry should feel smooth against the skin.
Next Steps: Your First Project
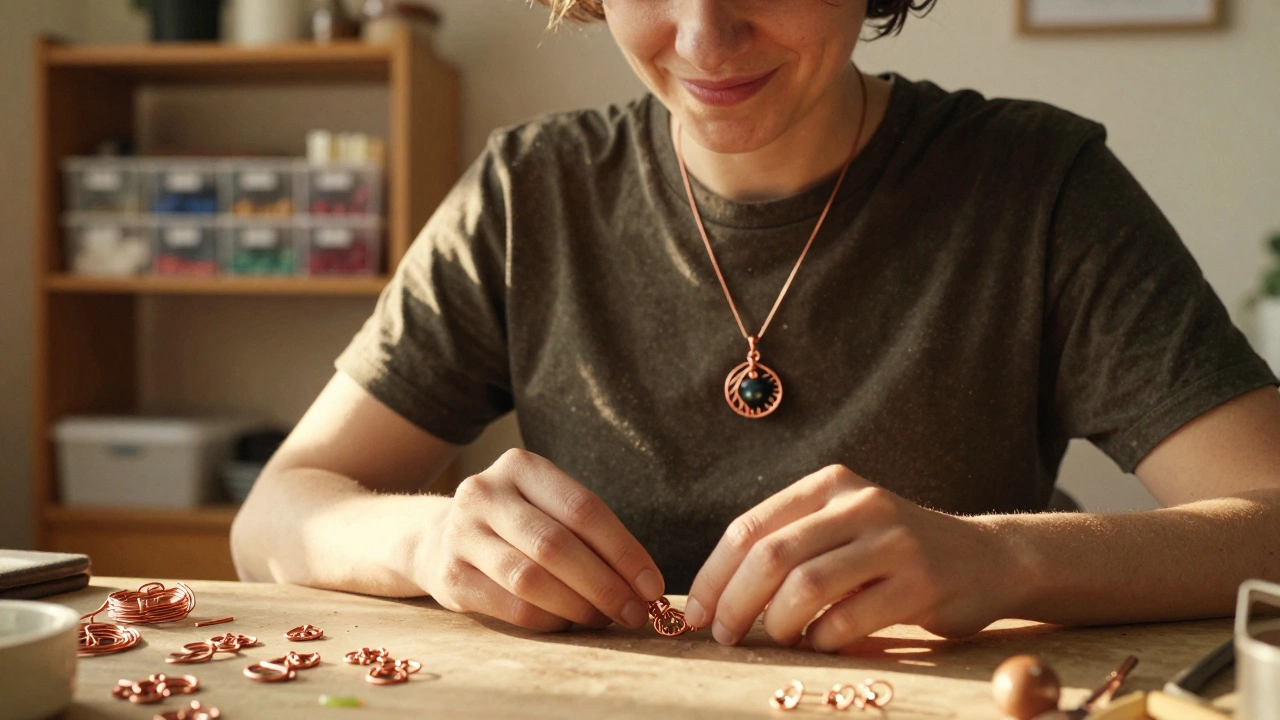
Don’t try to make a complex choker on day one. Start with simple wire-wrapped pendants or beaded bracelets. These teach you tension control and loop creation without overwhelming complexity.
Once you’ve mastered the basics, explore advanced techniques like soldering (which requires a torch and flux) or stone setting. But for now, gather your pliers, grab some copper wire, and start twisting. The satisfaction of wearing something you built yourself is unmatched.
Can I start making jewelry with just household items?
You can experiment with stringing beads using elastic cord and scissors, but for anything involving metal wire or durability, household tools will fail. Scissors damage wire, and lack of proper pliers makes secure loops impossible. Invest in basic jewelry pliers for real results.
What is the difference between gold-plated and gold-filled findings?
Gold-plated has a microscopic layer of gold that wears off quickly, exposing base metal. Gold-filled consists of a thick layer of gold bonded to a core metal, lasting years with proper care. For daily wear jewelry, always choose gold-filled or sterling silver.
Do I need to solder to make professional-looking jewelry?
No. Soldering joins metals permanently with heat, but many professional designs use mechanical connections like wire wrapping, crimping, and riveting. Master wire wrapping first; it creates strong, seamless joints without needing a torch.
How do I stop my jewelry from tarnishing?
Store jewelry in airtight bags or anti-tarnish strips. Keep it away from moisture, perfumes, and lotions. Copper and silver naturally oxidize. Regular polishing with a microfiber cloth removes tarnish before it sets deeply.
Is it cheaper to make jewelry than to buy it?
For simple pieces, yes. Bulk materials cost significantly less than retail markup. However, initial tool investment adds up. If you make multiple pieces, the cost per item drops dramatically compared to buying ready-made fashion jewelry.