Bracelet Kits – Your Easy Way to Create Custom Wristwear
Ever wanted a bracelet that matches your style but didn’t find anything you liked? A bracelet kit lets you design, assemble, and wear a piece that’s truly yours. No need to be a pro – the kits come with everything you need, from beads to tools, so you can start right away.
What’s Inside a Bracelet Kit?
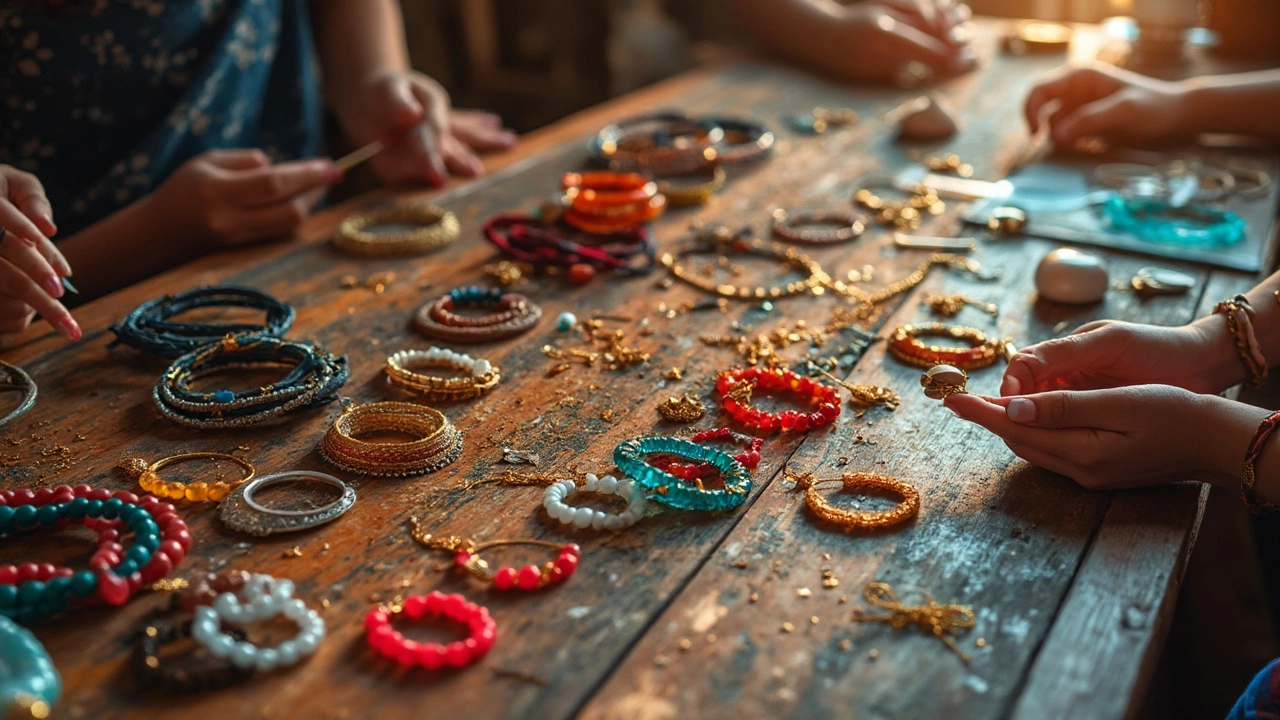
Most kits include a selection of beads or charms, elastic or chain, and a few basic tools like pliers, a clasp, and a bead board. Some focus on leather cords, others on metal links, and a few even have polymer‑clay pieces you can shape yourself. Look for kits that list the material (glass, crystal, stainless steel, etc.) so you know the quality before you open the box.
How to Choose the Right Kit for You
First, think about your skill level. Beginners usually enjoy elastic‑wrapped bracelets with snap‑on charms – they need no soldering or complex stitches. If you’re comfortable with a little knotting, a beaded loom kit adds more design options. For a polished look, metal‑link kits give a professional finish, but they may need a small jewelry‑making tool set.
Second, match the kit’s style to your wardrobe. Bright glass beads work great for festival looks, while muted wooden or stone beads pair nicely with everyday office wear. Consider the price too; a basic kit can be under ₹500, while a premium silver‑link set might cost a few thousand rupees.
Third, check the warranty or return policy. Reputable sellers, like RH Jewellers India, often guarantee the authenticity of the metal and stones. A clear return option means you won’t be stuck with broken clasps or missing parts.
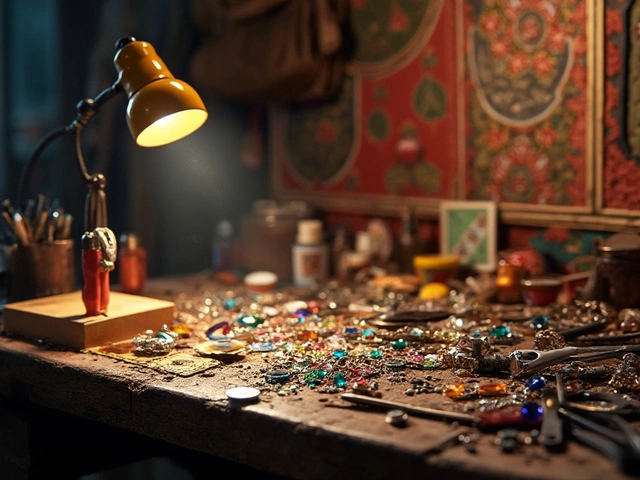
Once you have the kit, set up a clean, flat workspace. A small tray or a piece of wax paper keeps beads from rolling away. Follow the step‑by‑step guide that comes inside – most kits have numbered pictures that make the process feel like a simple craft project.
Start by measuring your wrist. Add a couple of centimeters for comfort, then cut the elastic or adjust the chain length. String the beads in the order you like, pausing to check the fit as you go. When you reach the end, secure the clasp or tie a strong knot, then trim any excess.
After your bracelet is done, give it a quick rinse with mild soap if you used elastic, or a soft cloth for metal parts. Store finished pieces separately to avoid scratches. If you love mixing and matching, keep extra beads from the kit in a small zip‑lock bag for future projects.
Looking to buy a kit? Online stores usually have filters for material, price, and skill level. Search for “bracelet kits” and add terms like “leather” or “beaded” to narrow results. RH Jewellers India offers curated kits that feature real gold‑filled charms and ethically sourced gemstones, making them a great choice for those who want a touch of luxury without a big budget.
In short, a bracelet kit is a hassle‑free way to add personal flair to your jewelry collection. Pick a kit that matches your skill, style, and budget, follow the simple instructions, and you’ll have a custom bracelet ready to wear in under an hour. Happy crafting!
DIY Jewelry That Sells the Most: Trending Kits and Smart Tips
Curious about which DIY jewelry actually flies off the shelves? This article digs into the types of jewelry made with kits that people can’t get enough of, from classic beaded bracelets to trending resin pieces. You’ll get real tips about what’s working, what’s not, and why some kits just work better for buyers. Find out how style trends and social media affect what sells. Plus, learn how to make your creations stand out in a crowded market.


