DIY Jewelry Kits – Start Crafting Your Own Pieces Today
Ever wanted to wear something you made yourself? A DIY jewelry kit gives you everything you need – beads, wire, clasps, and clear step‑by‑step instructions. No fancy skills required, just a little patience and a love for sparkle. In this guide we’ll walk through the basics, show you how to pick the right kit, and share a few easy project ideas you can finish in an afternoon.
Choosing the Right Kit for Your Skill Level
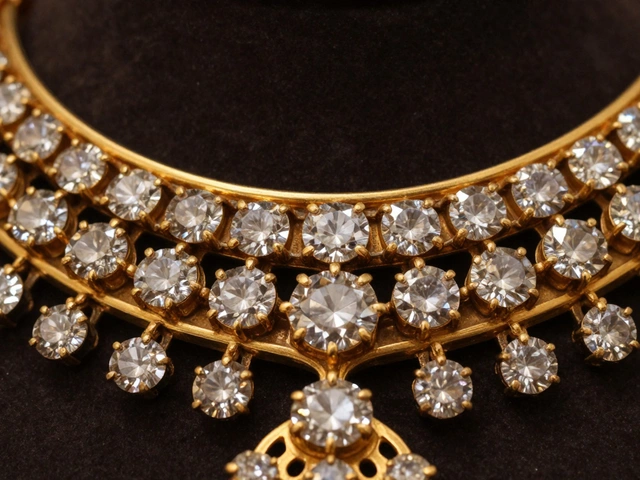
First thing’s first: not all kits are created equal. If you’re brand new, look for a beginner set that includes pre‑drilled beads, snap‑on clasps, and a simple wire‑wrapping tutorial. Mid‑level kits often add more intricate techniques like chain mail or wire weaving, while advanced kits may include precious stones and metal findings. Check the product description for the number of pieces – a 30‑piece set is perfect for one project, while a 100‑piece set lets you experiment with multiple designs.
Another tip is to read the reviews. Users will tell you if the instructions are clear, if the beads are actually the color shown, and whether the wire is too thick or too soft. A kit with a PDF guide and a short video demo is a big plus – visual cues help you avoid common mistakes like over‑tightening wire or losing a bead.
Essential Tools You’ll Need (Beyond the Kit)
Even the most complete kit leaves out a few tools that make the process smoother. A pair of flat‑nosed pliers and round‑nosed pliers are the basics; they let you bend wire, open loops, and close clasps without hurting your hands. Needle‑nose tweezers are great for picking up tiny beads, and a small cutting plier helps you trim excess wire cleanly.
Most hobbyists also keep a jewelry‑making board or a silicone mat to protect surfaces and keep beads from rolling away. If you plan to work with metal findings, a tiny hammer and a bead‑board with a grid can keep everything organized. All these tools are inexpensive and last for years, so think of them as an investment in your new hobby.
Now that you have the right kit and tools, let’s dive into a quick project you can finish in under an hour.
Simple Beaded Hoop Earrings: Open a 10‑mm jump ring with your flat‑nosed pliers, slide on 5–7 small seed beads, and close the ring. Repeat for the second ear. If you want a pop of color, swap one bead for a tiny crystal. That’s it – you’ve got a pair of custom earrings that match any outfit.
Another easy idea is a threaded necklace. Use the provided cord, slide on a ready‑made pendant, and knot the ends. You can add a few spacer beads for extra flair. This style works for casual wear and looks polished enough for a date night.
When you finish a project, store your leftovers in a zip‑lock bag labeled by bead size or color. This small habit saves you time when you start the next piece and prevents loss of tiny components.
DIY jewelry kits are more than a hobby – they’re a way to express your personal style without breaking the bank. By choosing the right kit, gathering a few basic tools, and following simple steps, you’ll quickly see how satisfying it is to wear something you made yourself. Ready to get started? Grab a kit, set up your workspace, and let your creativity flow.

Is Jewelry Making a Profitable Business Using DIY Kits?
Creating jewelry can be an exciting venture, especially for those using DIY kits. The profitability of this endeavor depends on various factors such as quality, marketing, and audience. With growing interest in handmade products, there is potential for success in the jewelry-making market. By understanding consumer trends and efficiently managing resources, one can turn this craft into a lucrative business.