DIY Jewelry Tips: Simple Ways to Make Your Own Stunning Pieces
Ever looked at a gorgeous necklace and thought, "I could make that"? You can. With a few basic tools and a sprinkle of creativity, you’ll be turning raw cords, beads, and metal into wearable art in no time.
Essential Tools for Beginners
The first step is gathering the right gear. A pair of flat‑nosed pliers, round‑nosed pliers, and a wire cutter are enough to start most projects. A small jewelry saw can help if you want to shape metal, but it’s optional. Add a set of assorted jump rings, headpins, and eyepins – they’re the connectors that make everything hold together. Keep a bead board handy; it saves you from tangled messes and lets you plan designs before you start.
Step‑by‑Step Projects You Can Start Today
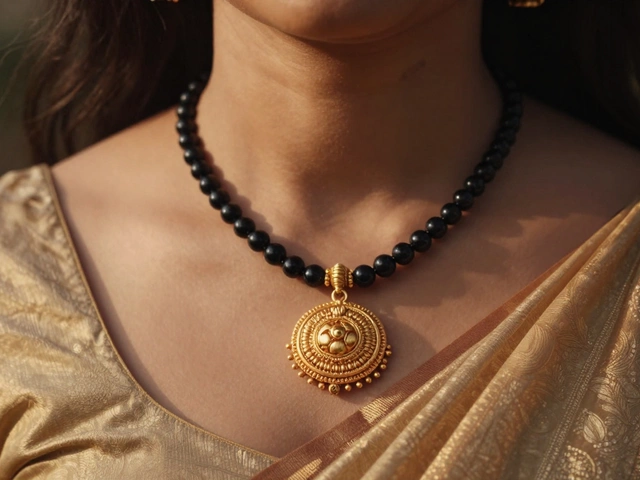
1. Beaded Pendant Necklace
Cut a 24‑inch piece of fine‑gauge jewelry wire. Thread your favorite beads in any order – mix colors, sizes, and textures for visual interest. Slide a jump ring onto one end, loop the wire through, and add a clasp. Trim excess wire and tuck the ends with flat‑nosed pliers. You’ve got a custom pendant that matches any outfit.
2. Simple Hoop Earrings
Start with a thin hoop of sterling silver or copper. Use round‑nosed pliers to open the end, slide a small decorative bead or charm onto the loop, then close it securely. If you prefer dangling styles, attach a tiny eye pin with a bead at the end, then loop it back onto the hoop. These earrings take under ten minutes and look polished.
3. Leather Cord Bracelet
Cut a 7‑inch strip of soft leather cord. Thread a handful of small seed beads onto a headpin, then bend the pin into a tiny loop. Slide the loop onto the cord, spread the beads evenly, and secure the ends with a sliding clasp made from two small jump rings. Adjust the fit and you have a trendy, lightweight bracelet.
Finishing touches matter. Use a polishing cloth for metal parts to keep them shiny, and apply a clear nail polish drop on jump ring hinges to prevent rust. When you’re done, store your creations in a small pouch or a jewelry box with separate compartments; this avoids scratches and tangled cords.
Avoid common pitfalls like pulling too hard on delicate wires – it can stretch and weaken the finish. If a bead feels loose, add a tiny spacer bead or another jump ring to secure it. Double‑check that all clasps open and close smoothly before you wear the piece.
Finally, experiment. Swap out materials, try different bead sizes, or combine metal with fabric. Each tweak teaches you something new, and the more you play, the better your designs become. So grab those pliers, line up a few beads, and start crafting – the perfect DIY jewelry piece is just a few simple steps away.

How to Make Jewelry Waterproof: Smart Hacks for DIY Makers
Making jewelry waterproof might sound tricky, but it’s totally doable—especially if you’re using jewelry making kits at home. This article breaks down which materials are best, busts common myths, and gives you real steps to keep your creations safe from water. Learn about coatings, sealants, and a few pro tips you won’t find on the average DIY blog. Plus, you’ll find out how to maintain waterproof jewelry so it stays looking fresh. Perfect for creators who want their pieces to last through beach days, showers, and more.