Your Quick 3D Printing Guide for Jewelry
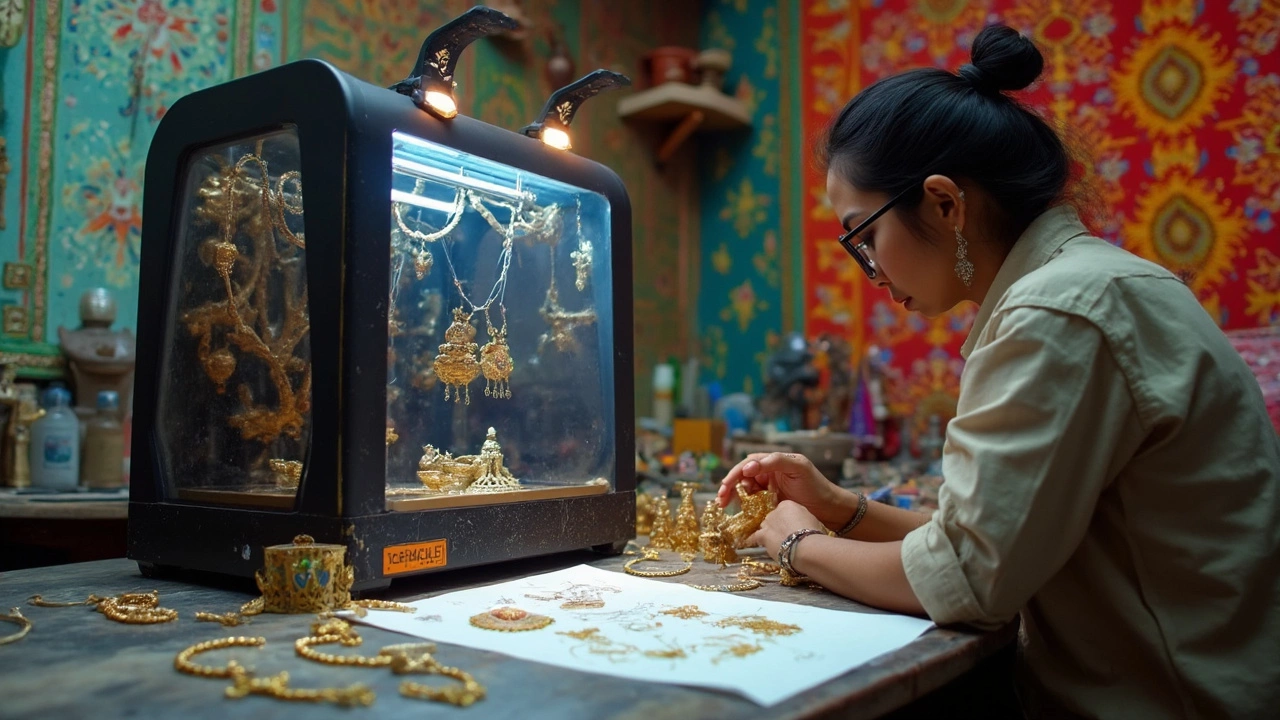
If you love jewelry and want to bring your ideas to life fast, 3D printing is the shortcut you’ve been waiting for. It lets you go from sketch to a real piece in days, not months. In this guide we’ll cover the basics you need, the tools that work best, and the trends shaping the market right now.
Pick the Right Software and Design Basics
The first step is creating a digital model. Programs like Blender, Rhino, and SketchUp are popular because they’re affordable and have plenty of tutorials. Start with simple shapes—rings, pendants, or earrings—and focus on clean lines. A common mistake is adding too many tiny details that the printer can’t reproduce, so keep features larger than 0.5 mm.
Once your model is ready, export it as an STL file. This format tells the printer exactly where to lay down material. Many designers also use a slicer app (for example, Cura or ChiTuBox) to turn the STL into layers the printer understands. Play with layer height: 0.05 mm gives a smooth finish but takes longer, while 0.1 mm speeds things up for prototypes.
Choose Materials That Match Your Vision
Resin and metal are the two main material families for jewelry. Resin prints are great for intricate details and quick turnaround. Look for casting‑ready resin if you plan to melt the piece into real gold or silver later. Metal printers, like those using Direct Metal Laser Sintering (DMLS), can produce final pieces in stainless steel, titanium, or even 24 K gold powder—but they’re pricier.
If you’re on a budget, start with resin and send the finished model to a local lab for metal casting. This hybrid approach gives you the design freedom of 3D printing without the huge equipment cost.
Don’t forget post‑processing. Resin prints need a wash in isopropyl alcohol and a UV cure to harden fully. Metal prints often require polishing, sandblasting, or a quick dip in a polishing solution to bring out the shine.
Now that you know the basics, you can experiment with trends like mixed‑material pieces—combining printed resin with real gemstones—or using 3D‑printed molds for traditional hand‑casting techniques. The possibilities are endless, and the learning curve is gentle enough for a weekend hobbyist or a full‑time designer.
Ready to start? Grab a free 30‑day trial of any of the software mentioned, download a beginner’s STL from a site like MyMiniFactory, and print a simple ring. You’ll see how fast the idea turns into a tangible object, and from there you can scale up to custom collections for your shop or gifts for friends.
Remember, the key to success is keeping designs printable, choosing the right material for the final look, and polishing the piece until it gleams. With these steps, you’ll be creating eye‑catching jewelry that stands out in any market, including RH Jewellers’ online catalog.
3D Printing Limitations: Metals That Miss the Mark
While 3D printing opens new avenues in jewelry making, not all metals are compatible with this innovative process. Key metals like lead, tin, and some precious metals pose challenges due to their properties. Learn about these limitations and explore the reasons behind them. This insight helps you make informed decisions when selecting materials for your next jewelry project.


