Craft Kits: Your First Step to DIY Jewelry
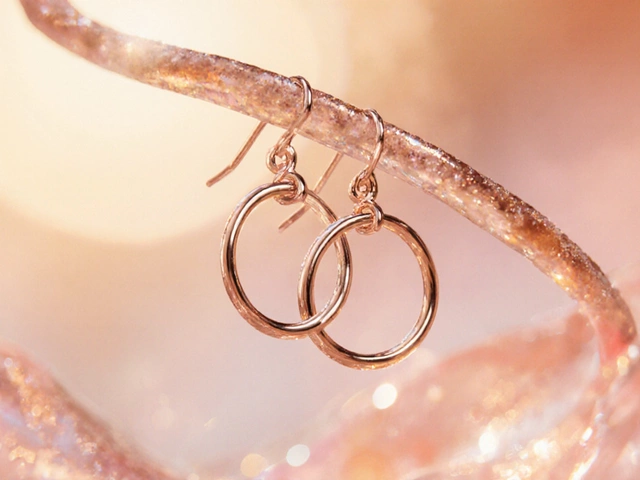
If you’ve ever wanted to make your own earrings, bracelets or necklaces, a craft kit is the fastest way to start. Instead of hunting for individual parts, a kit bundles everything you need – beads, wires, tools and clear instructions. You get results fast and learn the basics without feeling overwhelmed.
What’s Inside a Good Craft Kit?
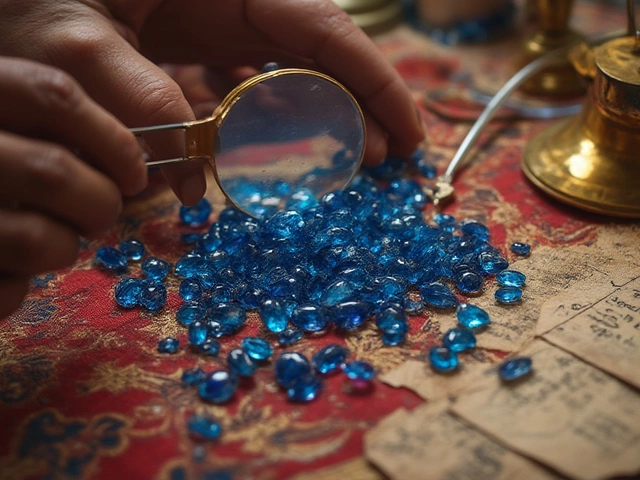
A solid kit usually includes a mix of materials that work together. Look for a variety of bead shapes (round, faceted, seed) and colors so you can experiment. Metal parts like jump rings, head pins, and ear wires are essential for connecting pieces. The most useful tool in any jewelry kit is a jump ring opener – a small plier that lets you open and close tiny rings without hurting your fingers.
Don’t forget the finishing touches: pliers for bending wire, tweezer‑style pliers for gripping, and a small ruler or measuring tape. Some kits even add a polishing cloth or a simple storage pouch. All these items keep everything organized and ready for the next project.
Getting Started with Your First Project
Pick a beginner design that matches the kit’s instructions. Most kits start with a simple pair of earrings or a single‑strand bracelet. Follow the step‑by‑step guide – it’s written in plain language, so you won’t need to decode any jargon.
First, sort the beads by color or size. Then, using the jump ring opener, open a small ring by twisting the ends, slide the bead on, and close the ring snugly. Repeat the process until your design is complete. If you’re using wire, cut a piece a few inches longer than needed, thread the beads, and use round‑nose pliers to make a loop at the end.
When you finish, give the piece a quick check: make sure all rings are closed tightly and the bracelet fits comfortably. A little polishing will make the metal shine and bring out the bead colors.
After you finish the first project, use the same tools to tweak the design or start a new one. The more you practice, the faster you’ll become at opening rings, threading beads, and spotting design tweaks.
If you love the results, consider expanding your collection. Buy extra beads, different metal finishes (gold‑filled, silver, brass) or specialty tools like a chain‑nose plier for tighter work. Adding new pieces keeps the creative spark alive and lets you personalize each creation.
Remember, the goal isn’t to be perfect on the first try. DIY jewelry is about playing with color, texture and shape until something feels right. A good craft kit gives you the confidence to experiment without breaking the bank.
So grab a kit, fire up your jump ring opener, and start making pieces you can wear or gift. In no time you’ll have a small stash of handmade accessories that show off your style and creativity.
Jewellery Making Kits: Get Started with Your First Creation
Thinking about trying out jewellery making but not sure where to start? This guide will walk you through the basics, from choosing the right jewellery making kit to understanding the essential tools and materials. Whether you want to create stunning necklaces, bracelets, or earrings, you'll find practical tips and interesting facts to kickstart your new hobby.


