DIY Jewelry Making: Easy Steps to Create Your Own Pieces
If you’ve ever wished you could design a necklace or a pair of earrings that match your style, DIY jewelry making is the answer. You don’t need a fancy workshop – just a few basic tools, a dash of patience, and a spark of creativity. In this guide we’ll walk you through the must‑have supplies, simple projects to try first, and handy tips that keep mistakes to a minimum.
Essential Tools You’ll Need
Start by gathering a small toolkit. A jump ring opener is a lifesaver for opening and closing the tiny rings that hold beads together. Pair it with a pair of flat‑nose pliers and round‑nose pliers – the flat‑nose grip holds pieces steady while the round‑nose bends wire into loops. A good pair of wire cutters will make clean cuts without fraying the metal.
Next, pick a base material. Sterling silver wire, copper, or 18‑gauge gold‑filled wire works well for beginners because they’re soft enough to shape but strong enough to hold beads. If you prefer a no‑metal route, leather cords, nylon strings, or elastic threads are great for bracelets and necklaces.
Don’t forget the finishing touches: a small hammer for flattening jump rings, a bead board to organize your colors, and a magnifying glass if you’re working with tiny components. All of these items fit in a simple tote, so you can craft on the couch, at the kitchen table, or wherever you feel comfortable.
Simple Projects to Get Started
Choose a project that matches the tools you have. A classic beginner piece is a beaded bracelet. Cut a length of elastic, thread your favorite beads (seed beads, glass, or polished stones), tie a secure knot, and add a drop of clear glue for extra hold. The result is a stretchy bracelet you can wear right away.
If you want a touch of metal, try a simple charm necklace. Slide a few charms onto a 18‑inch length of chain, use a jump ring opener to open a jump ring, attach the charms, and close the ring with the flat‑nose pliers. This project teaches you how to work with jump rings, which are used in almost every jewelry design.
For a more structured look, craft a pair of hoop earrings. Cut two equal pieces of wire, shape each into a circle, and use a small piece of wire to create a hook at the top. Secure the ends with the round‑nose pliers, then add a bead or two for a pop of color. This design lets you practice bending wire and solder‑free connections.
Whatever you choose, keep the design simple at first. Focus on clean joins, even spacing, and a balanced look. As you gain confidence, mix materials – combine leather cords with metal charms or add semi‑precious stones to a copper chain.
A quick tip: always test your jewelry on your skin before finalizing. Some people react to certain metals, so using hypoallergenic options like stainless steel can avoid irritation.
DIY jewelry making is as much about experimentation as it is about following steps. If a design feels off, pull it apart, tweak the layout, and try again. The beauty of handmade pieces is that they’re uniquely yours, and each tweak brings you closer to a look you love.
Ready to start? Grab those basic tools, pick a simple project, and give it a go. In no time you’ll have a bracelet, necklace, or set of earrings that you created yourself – and the satisfaction that comes with wearing something truly personal.
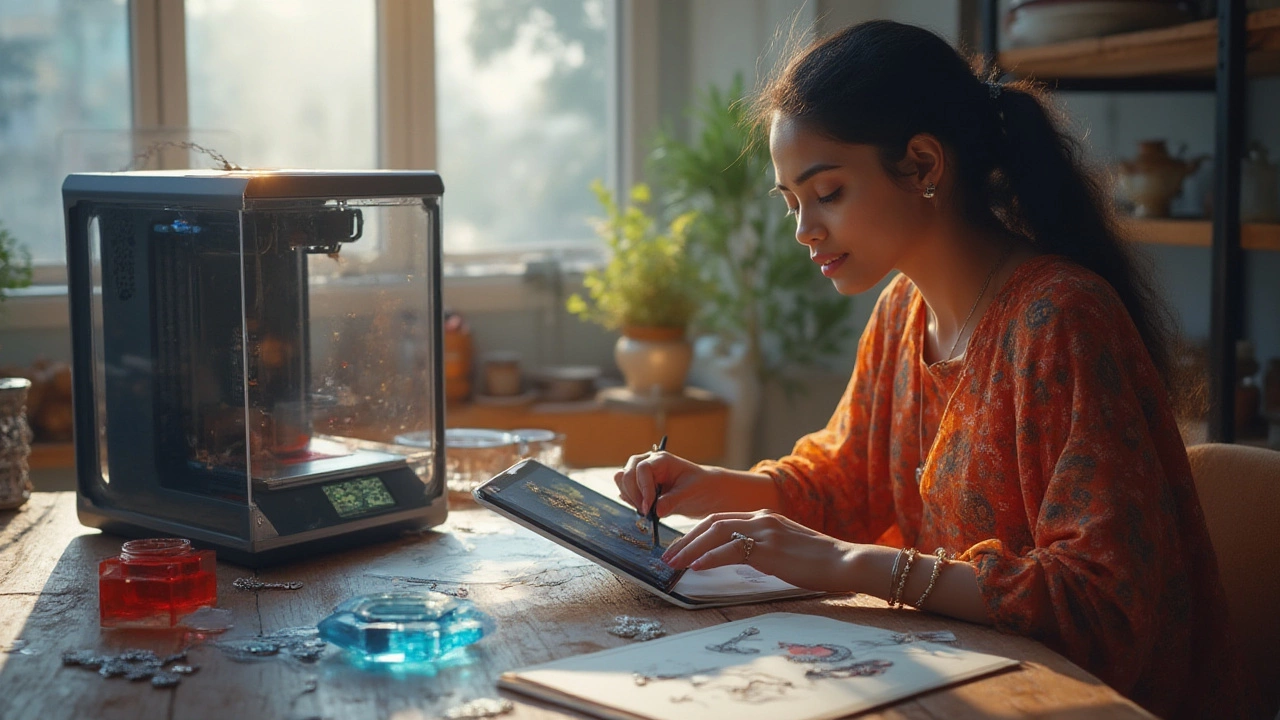
How to Make Stunning Jewelry Using a 3D Printer at Home
Discover how you can make custom jewelry with a 3D printer. Learn about the process, tools, materials, expert tips, and design secrets. Simple, detailed guide.


