DIY Pendant: Easy Steps to Craft Your Own Jewelry
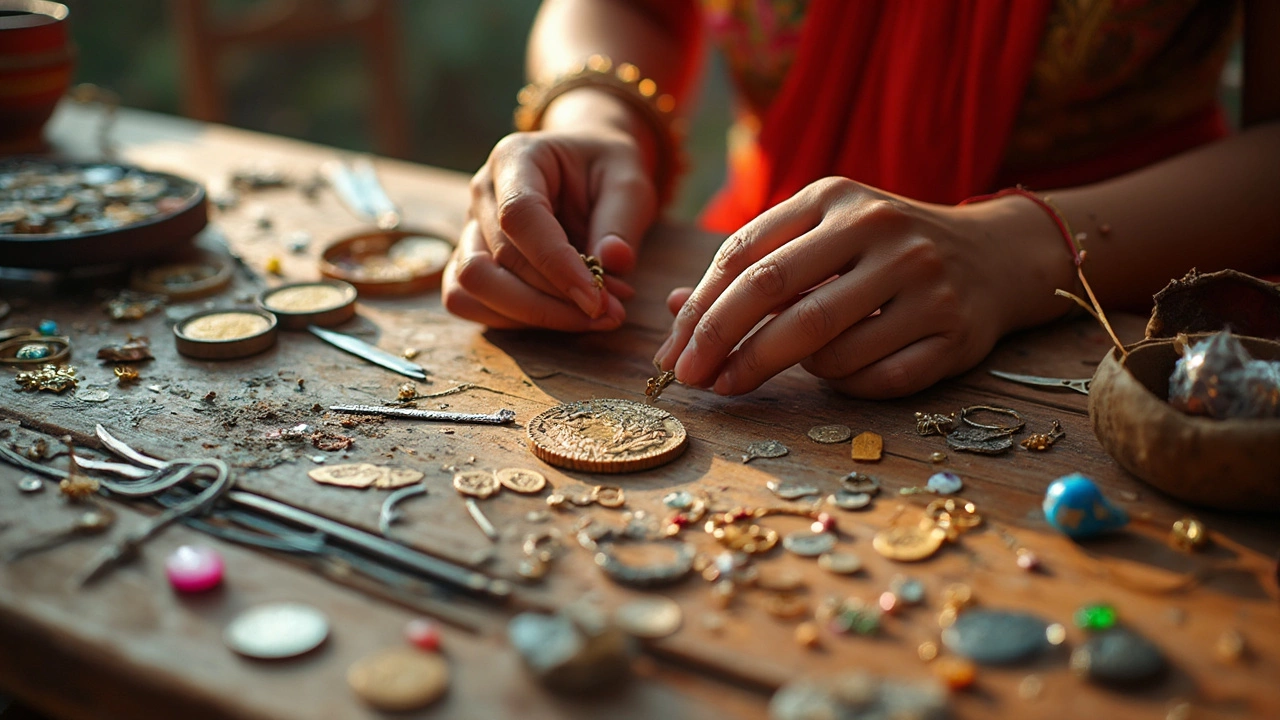
Ever wanted a pendant that tells your story? You don’t need a fancy workshop or a big budget – just a few tools and a bit of creativity. This guide shows you exactly what to grab, how to put it together, and a handful of designs you can finish in an afternoon.
Choosing Materials and Tools
Start with the basics. A small pair of pliers (round‑nose and flat‑nose), a jeweler’s saw or wire cutters, and a drill bit for metal are enough for most projects. For the pendant itself, you have options:
- Metal sheets or wire – copper, brass, or silver are cheap and easy to work with.
- Resin – mix the two parts, pour into a silicone mold, and add glitter or dried flowers.
- Beads and charms – string them on wire or thread for a lightweight look.
Pick a material that matches the look you want and fits your skill level. Copper is forgiving for beginners; it dulls quickly but you can polish it later. If you love color, go for resin or enamel paint.
Simple Pendant Designs You Can Try Today
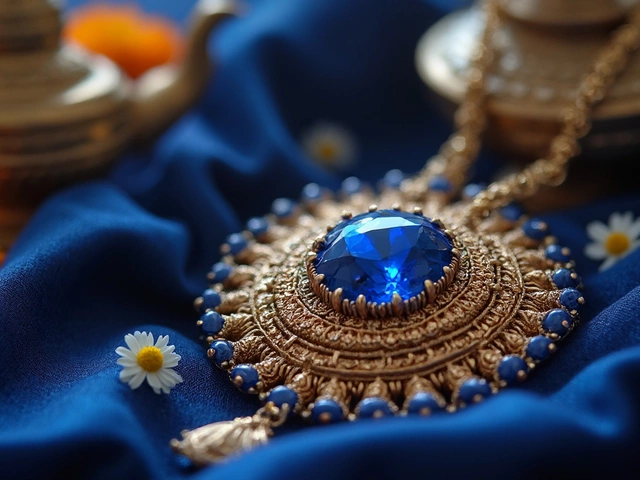
1. Wire‑Wrapped Gem – Cut a 2‑inch piece of 22‑gauge wire, make a small loop, slide a stone or crystal onto the loop, then wrap the wire around the stone a few times. Pull the ends together, trim, and add a jump ring for the chain.
2. Layered Metal Cutout – Draw a simple shape (like a leaf or heart) on paper, trace it onto thin copper sheet, and cut it out with a jeweler’s saw. File the edges smooth, then use a hammer to emboss a pattern on the back. Finish with a protective clear coat.
3. Resin Photo Pendant – Print a tiny photo on waterproof paper, place it in a silicone mold, pour mixed resin, and let it cure (usually 24 hours). Sand the edges if needed, then attach a bail.
4. Beaded Bar – Cut a 2‑inch piece of sturdy wire, thread beads of your favorite colors, and secure both ends with a tiny crimp bead. Add a jump ring, and you have a modern, splash‑of‑color pendant.
All these ideas need just a few minutes of prep and a bit of patience. The trick is to keep your workspace organized – lay out each step, and don’t rush the polishing. A quick polish with a soft cloth makes copper shine like new, while a dab of jewelry glue can fix loose parts.
Once your pendant is ready, choose a chain that complements the weight and style. A thin gold chain works well with delicate designs, while a sturdy leather cord can hold heavier metal pieces. Clip the bail, try it on, and you’ve got a personal piece you can wear or gift.
Remember, the best part of DIY is experimentation. Swap materials, change colors, or add tiny charms until it feels just right. The more you play, the faster you’ll spot shortcuts and develop your own signature look. So grab those pliers, pick a design, and start creating – your next favorite pendant is only a few steps away.
Coin Necklace Without a Hole: Easy Jewellery Hack
Want to turn a coin into a necklace but can't bear to drill a hole in it? This guide shows practical ways to create a coin pendant using simple jewellery making kit items, all while preserving the coin. Discover no-hole solutions, tips for securely holding your coin, and hacks to personalize your new accessory. You'll learn which materials work best and which mistakes to avoid. Make a custom necklace with zero damage.