Jewellery Making: Start Crafting Your Own Pieces Today
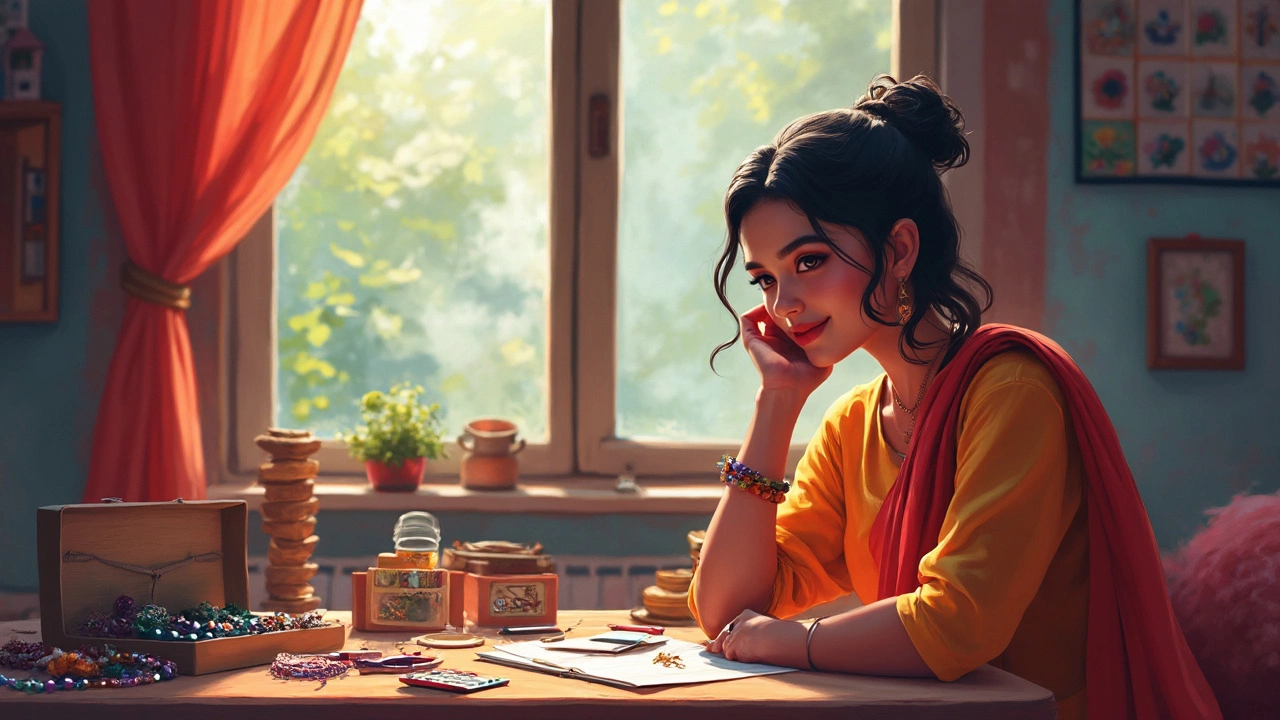
If you’ve ever wished you could design a necklace or a pair of earrings that match your style, jewellery making is the answer. You don’t need a fancy workshop or years of experience – just a few basic tools and a willingness to experiment. In this guide we’ll walk through what you need, why each piece matters, and three starter projects you can finish in an afternoon.
Tools Every Beginner Needs
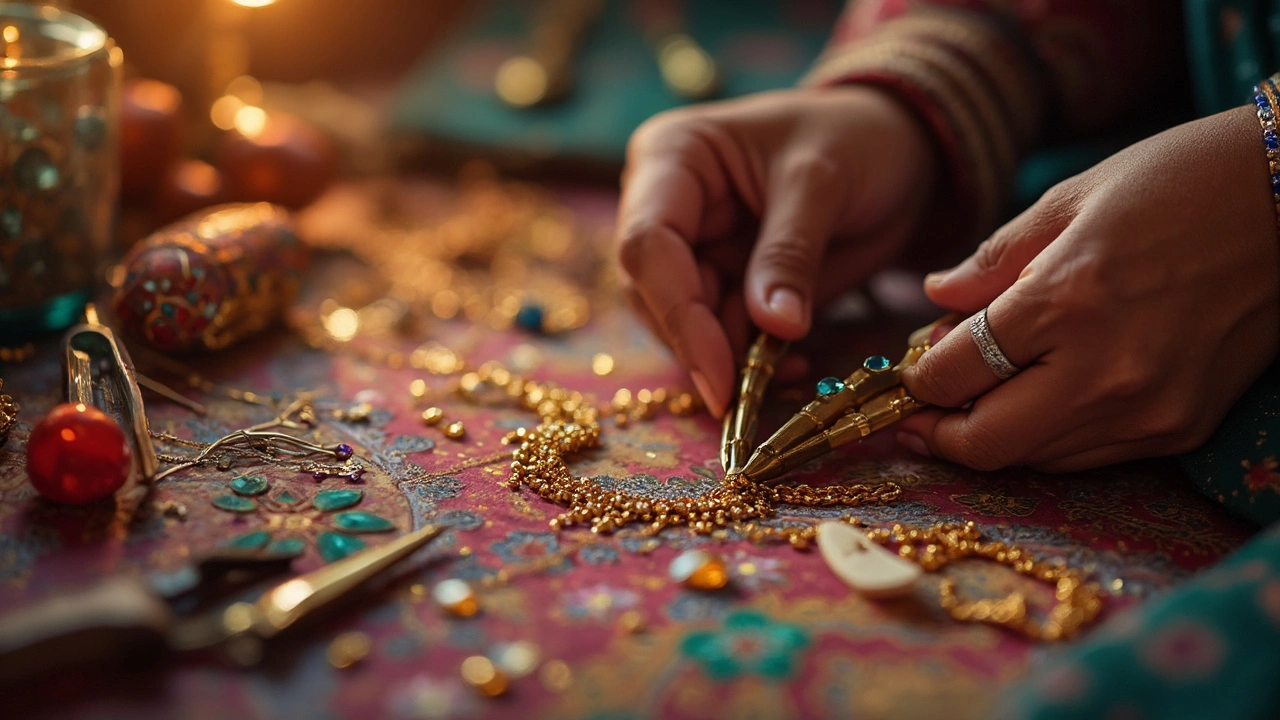
The right tools make a huge difference. A good pair of flat‑nose pliers and round‑nose pliers lets you bend wire, open jump rings, and shape loops without hurting your fingers. Needle‑nose pliers are perfect for tight spots, while wire cutters give you clean cuts that won’t fray. A jump‑ring opener saves time when you’re dealing with tiny rings – you’ll never have to pry them open with a screwdriver again.
Beyond pliers, a few other items round out a basic kit. A small ruler or caliper helps you measure wire length accurately, and a bench pin provides a sturdy surface to work on. If you plan to use beads, a bead board keeps them organized so you don’t lose any. Finally, a set of assorted jump rings, headpins, and eyepins gives you the connecting pieces you’ll need for most designs.
Simple Projects to Get You Started
Once your toolkit is ready, pick a project that matches your skill level. Here are three ideas that use the same core tools, so you won’t have to buy extra supplies.
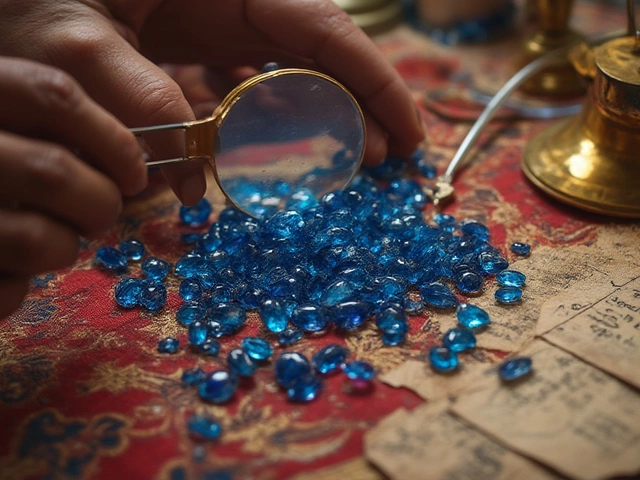
1. Wire‑Wrapped Pendant – Cut a 6‑inch piece of soft‑grade copper or brass wire. Form a loop at one end with round‑nose pliers, slide a small gemstone or bead onto the wire, then wrap the wire around the stone three times. Finish with a neat knot and trim any excess. This pendant fits a simple chain and looks polished.
2. Beaded Hoop Earrings – Use a 14‑gauge ear wire as the base. Slide a row of seed beads onto the wire, then use flat‑nose pliers to close the hoop securely. If you want a pop of color, mix glass and wooden beads. The finished earrings are lightweight and perfect for casual wear.
3. Chain Link Bracelet – Pick up a few pre‑made chain links (you can find them in jewelry supply stores). Open a link with flat‑nose pliers, thread a thin leather cord through, and close the link. Repeat until you reach your wrist size, then attach a clasp made from a jump ring and a small lobster clasp.
Each of these projects reinforces a fundamental skill: looping, beading, and linking. Practice them a few times, and you’ll notice your speed and confidence grow.
When you finish your first piece, don’t stop. The same tools let you explore more complex techniques like soldering, stone setting, or enamel work. Look for tutorials that match the style you love – whether it’s traditional Indian motifs or modern minimalist designs. With practice, you’ll be able to create gifts for friends, custom pieces for special occasions, and even a small collection you could sell.
Remember, jewellery making is as much about creativity as it is about technique. Keep experimenting with different wires, beads, and finishes. The more you play, the more unique your designs become. Happy crafting!
Is Jewellery Making an Expensive Hobby? The Real Deal with Jewellery Making Kits
Thinking about picking up jewellery making but worried about the cost? This article breaks down whether jewellery making is really an expensive hobby, especially when using starter kits. Discover what you actually need to get started, the hidden costs, and how to save money along the way. You'll also find tips on buying kits that fit your budget, and honest insights into how quickly the expenses can add up if you're not careful. Get the lowdown so you can decide if this creative hobby is right for you without breaking the bank.
Best Tools to Open and Close Jump Rings Easily
Opening and closing jump rings might seem fiddly, but with the right tools, it can become an effortless task. This article explores the best tools to use, from pliers to specialty openers, providing practical tips for both beginners and seasoned jewelry makers. Understanding which tools suit different projects can make your jewelry crafting smoother and more enjoyable. Learn how to handle jump rings like a pro and create stunning pieces with ease.